Classic Japanese Shape
Simple construction perfect for a relaxing afternoon stitching.
You’ll find a beautiful selection of blockprints and naturally dyed colours in Khadi Fat Quarters selection to get you started.
Traditionally Japanese wrapped parcels in a length of cloth and tied the corners creating a handle to carry, known as Azuma Bukuro.
As Western influences arrived carrying shaped bags this wrapping tradition added stitches and a variety of folded and stitched bags and wrappings evolved.
These bags can be sewn together by hand or machine.
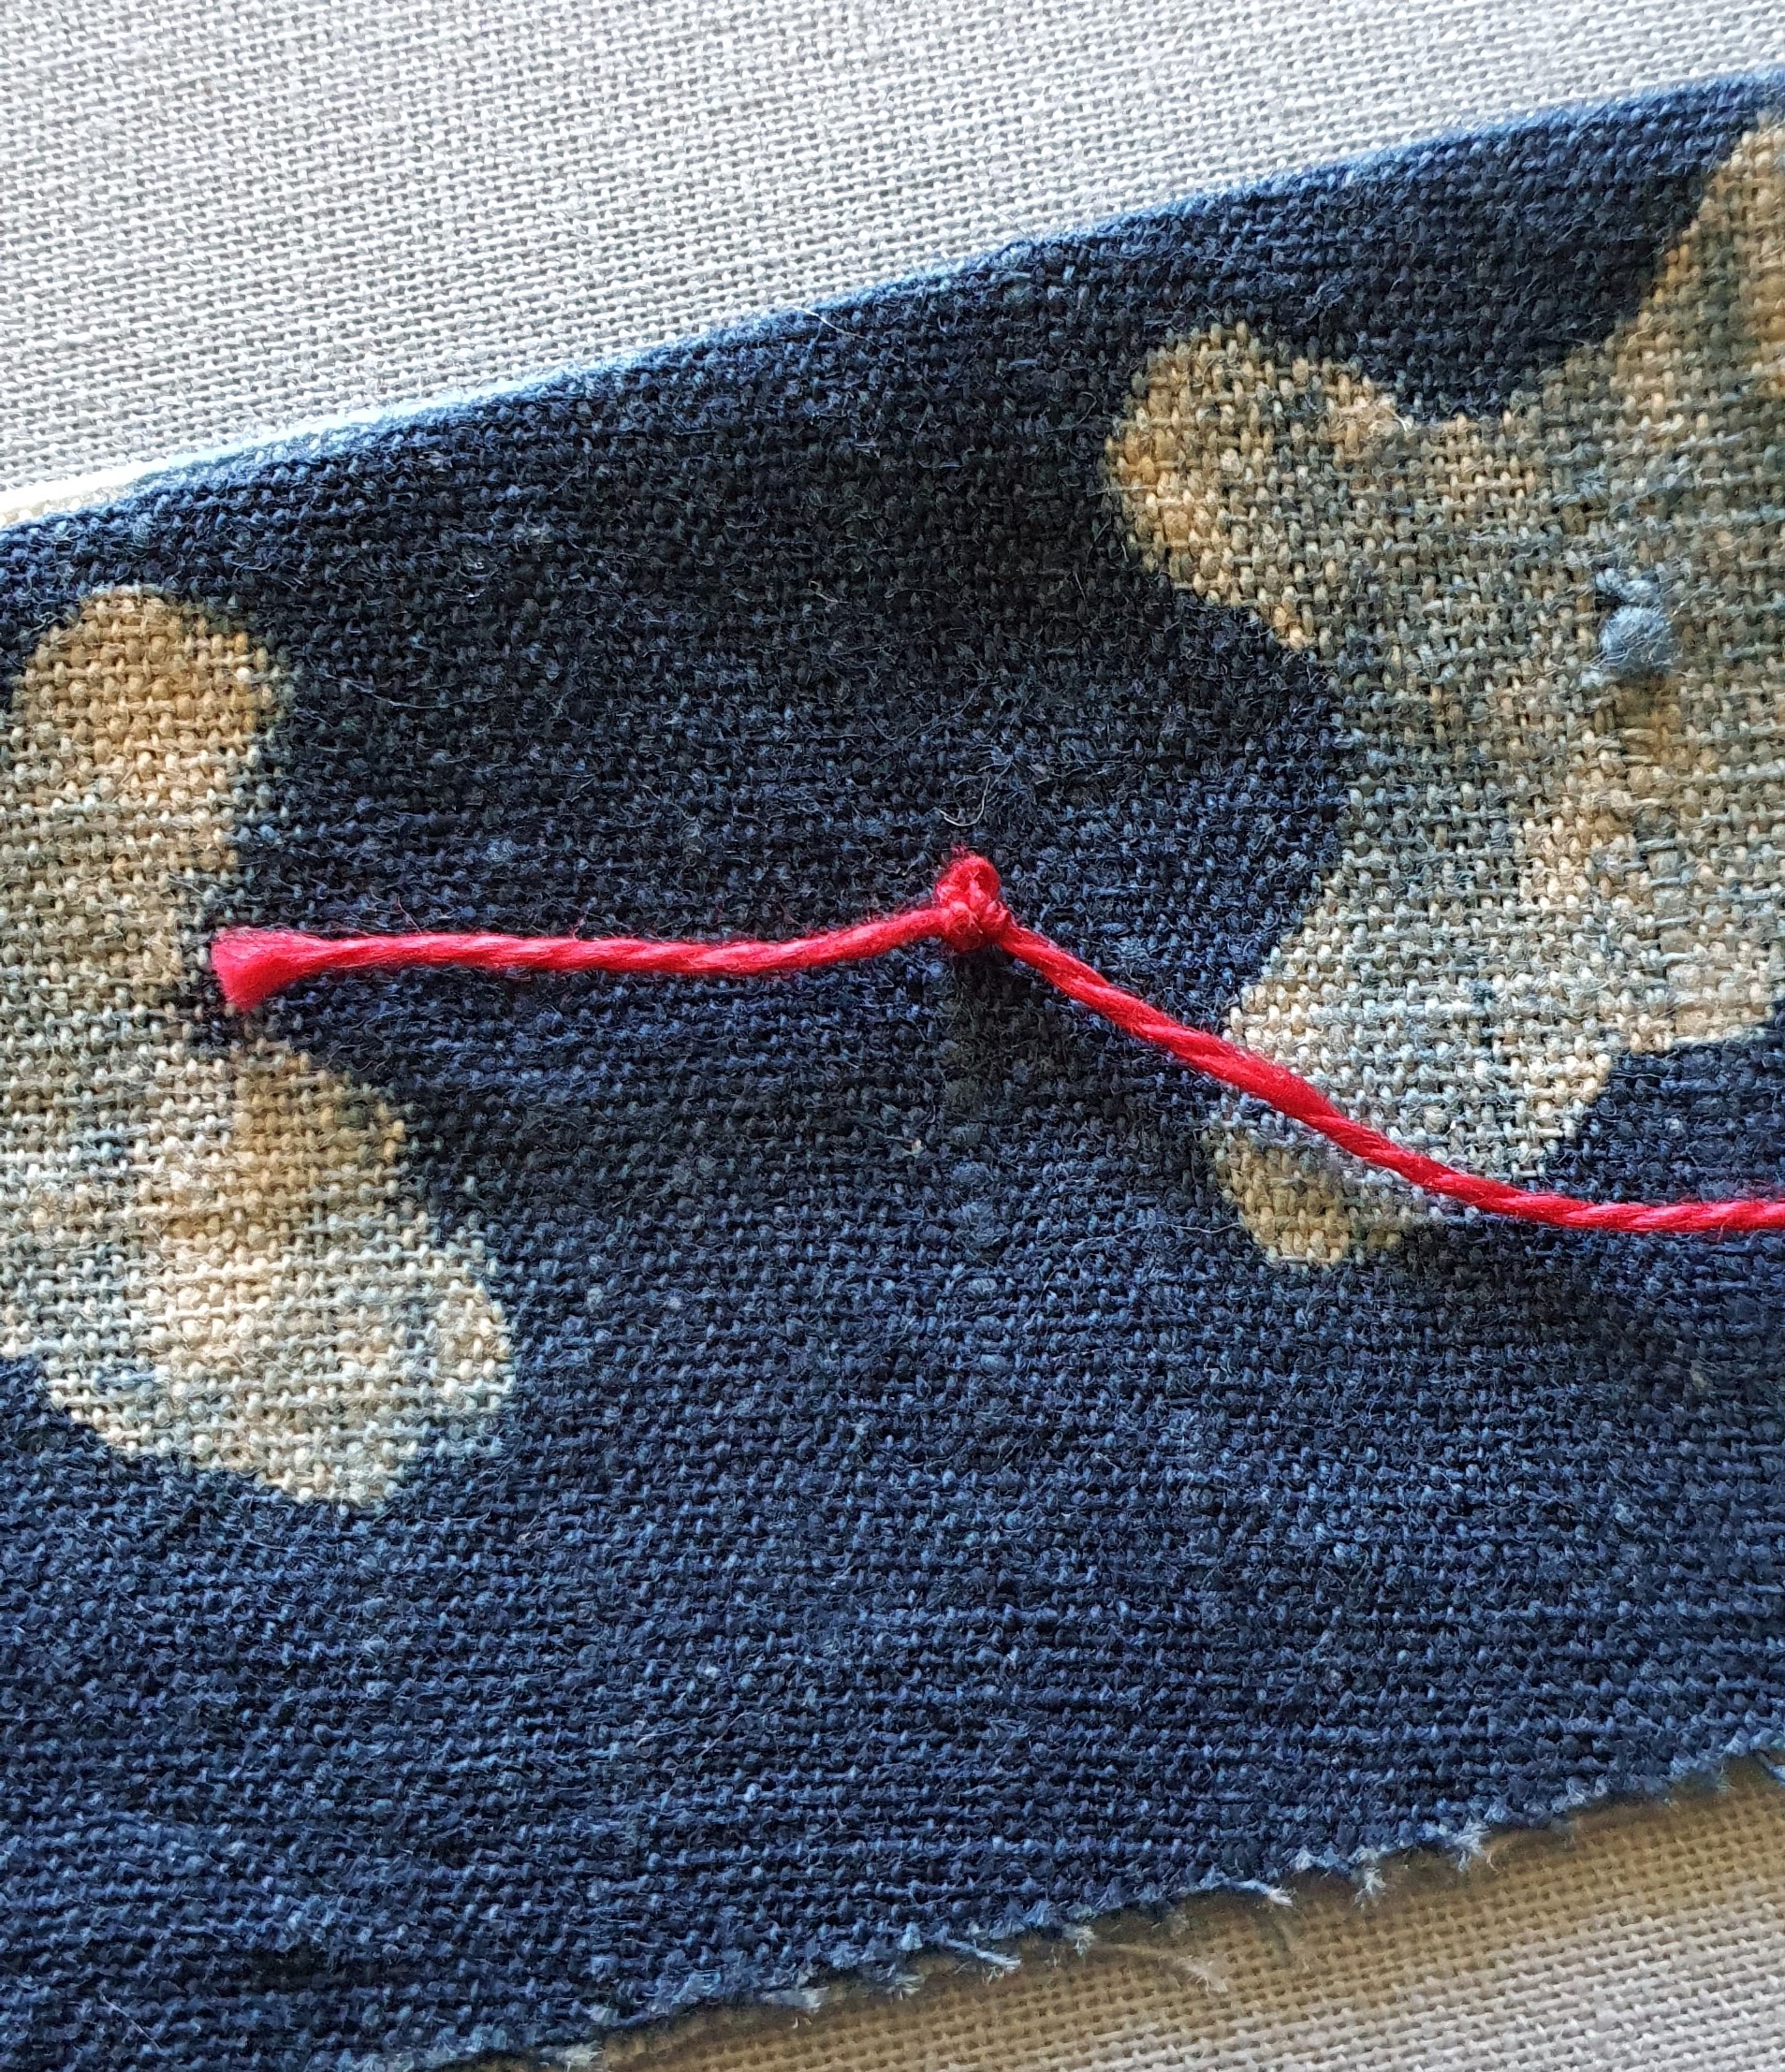
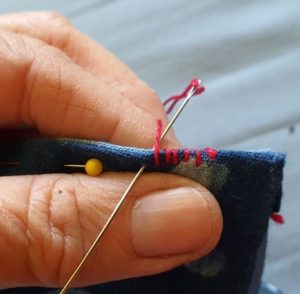
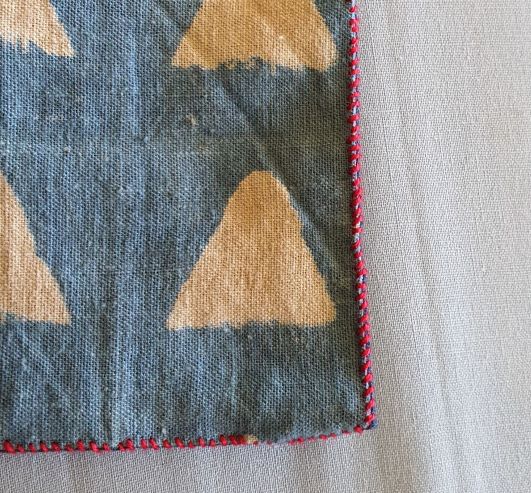
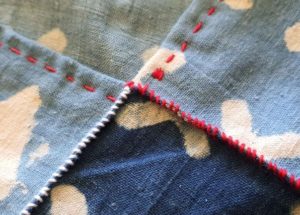
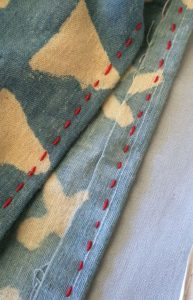
By hand I use a simple whip stitch along the edge- I make the stitches about 3mm deep [1/4 inch] and nice and tight.
This is for strength and the pop of colour.
Squaring the Cloth
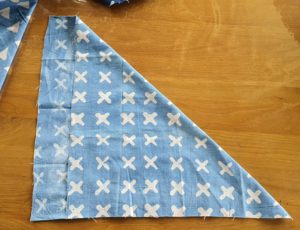
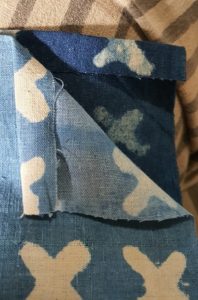
Fold along the diagonal and the cut along the edge where the overlap is- you will have a square
You need 3 squares the same size
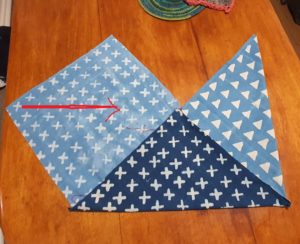
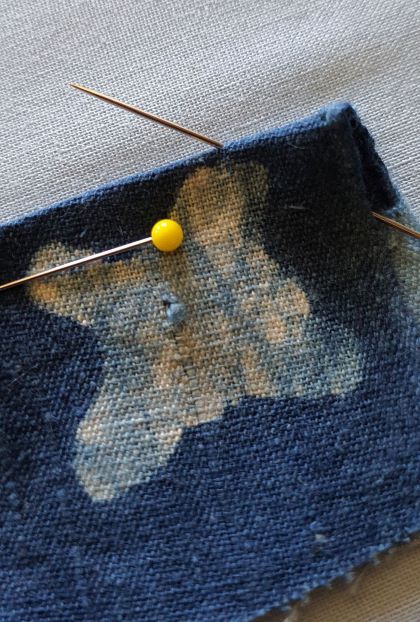
once you know where the pieces are joining
Pin in place and get your needle ready
A good size knot holds the thread in place.
My workshop in India is all about handwork… but sometimes it is hard for people to believe it is actually handwork not a machine.
On our hand stitch work that is not designed to be reversible I like a good knot.
It holds the thread in place and subtly says HANDMADE… I hope they hear the whisper WITH LOVE
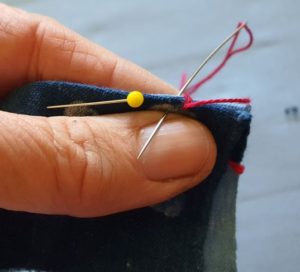
whip it baby, whip it good ! [ I do promise to not sing to you, even if I do quote song lines- haha]
about 3 mm deep [eighth of inch or there abouts ]
Make your way along the side until you are 1 cm/ half inch from end and finish with a few stitches on top of each other.
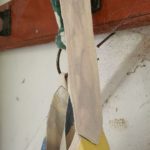
First corner and along the sides
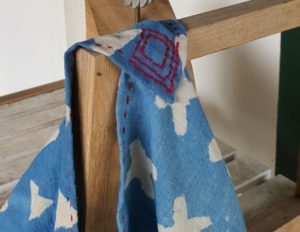
Finishing the Bag
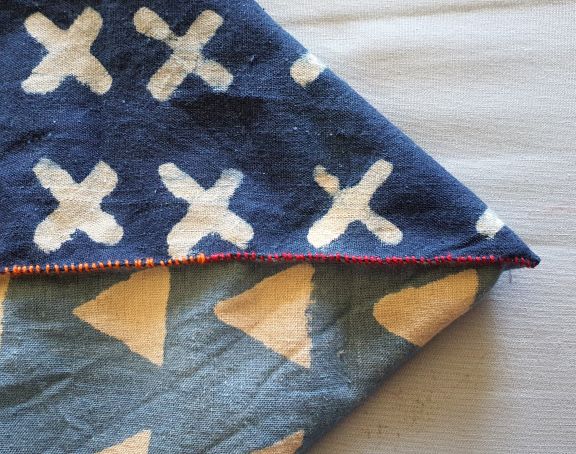
When you get to the top join- do a little dance with you needle,
I mean put a strong back stitch in place to anchor that join well.
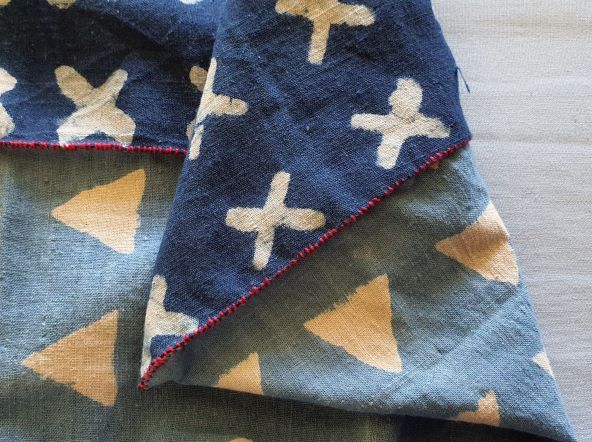
the top edges of your bag could stay raw and fray up something lovely
or you might turn them down and use running stitch to hold them in place.
I confess I like frayed edges and so can’t wait for the edge to do that-
if it will drive you nuts do a double fold so the edges are hidden
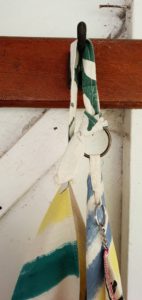
Close the bag- strap or knot
The simplest way to close your bag or create a handle is to knot the pointy ends together and tie it off.
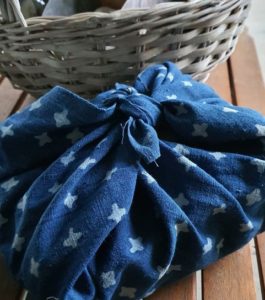
It is lovely for packing a picnic as a presentation but my family like to rip into the food and it might be slow to open- haha
There is enough room to put your arm through the hole and wear this bag up on your shoulder.
You might like to be fancy and add a strap- shape a small belt out of cloth and stitch and end to each of the top bag points.
Here is one I did a few years ago- I got all fancy and added an adjustable loop to it too.